I will say that I offer multiple bag sizes, so the actual sizes/dimensions are more formulas than numbers. I hope that's fine. I can do it, so that probably means it's really easy math!
That said, let's dive in!
A note: Although I don't mention it all the time, please know that I press my seams open after every sewing step and that I trim my seam allowances down to 1/4" to make it easier to turn the bags and put them together without too much seam bulk. When trimming your seams, be especially sure not to accidentally clip any of your stitching. If you do not want to trim the seams, at the very least you will find it helpful to notch your corners to make the bags easier to turn.
Step 1: Cut the fabric. I use a different fabric for interior and exterior, so it's basically two of the exterior fabric and two of the interior fabric, not on the fold. I also cut a pocket out of the main fabric.
The bag sizes I offer are 9"x9", 12"x12", 15"x15", and 18"x18". I just really like to have square bags. You can basically use whatever dimensions you want. I use a 1/2" seam allowance all the way through, so whatever I do, I just add 1" to the finished dimensions when I cut, so...10"x10", 13"x13", 15"x15", or 19"x19".
For the pocket, I cut the main fabric to 12" x whatever the bag width dimension is. You will fold it in half to make a 5.5" tall pocket.
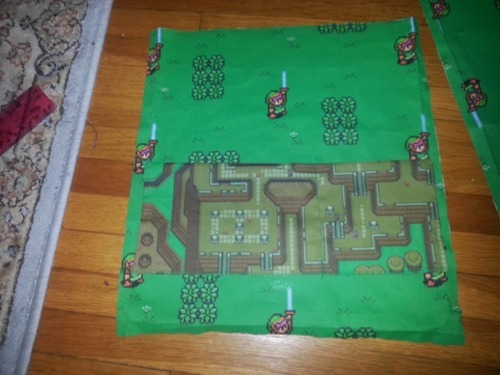
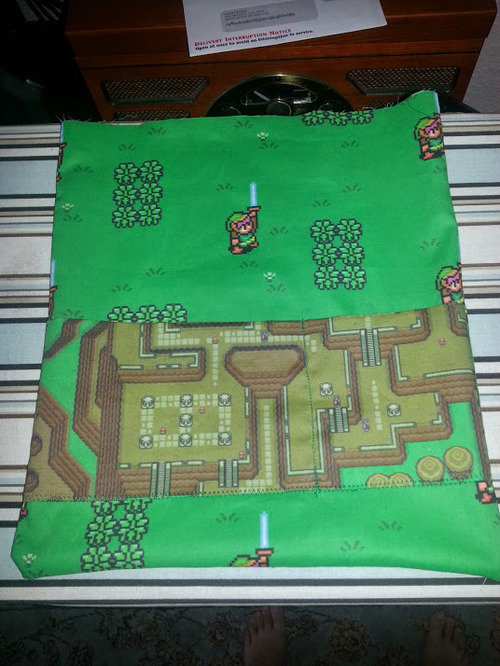
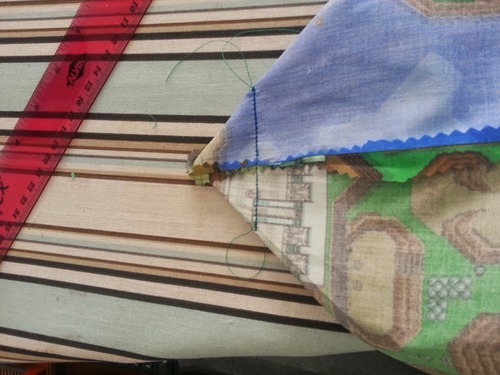
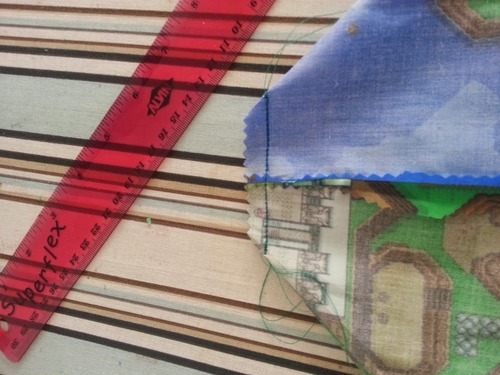
Step 2: Pin the outer fabric, right sides together, being sure to line up the corners.
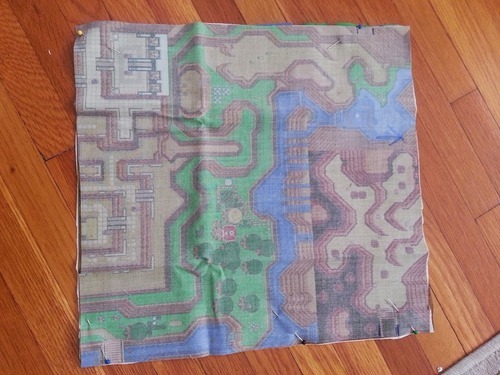
Step 3: Starting about an inch and a half down from the top of the fabric, sew around three sides of the project bag, pivoting when you get to within a half inch from each corner. Stop an inch and a half from the top of the other side of the bag. In mine, you'll see that I then left a small half inch opening and stitched the last inch to the top. I've since stopped doing it this way, as I find it means you have to rip that out when you sew the inside to the outside.

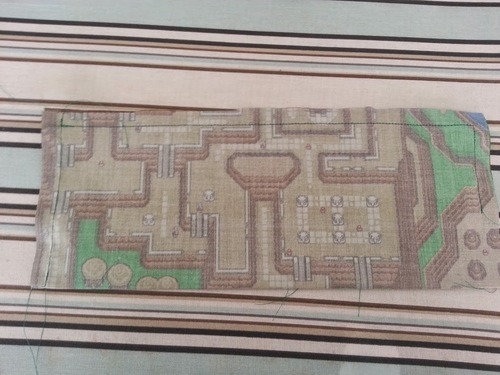
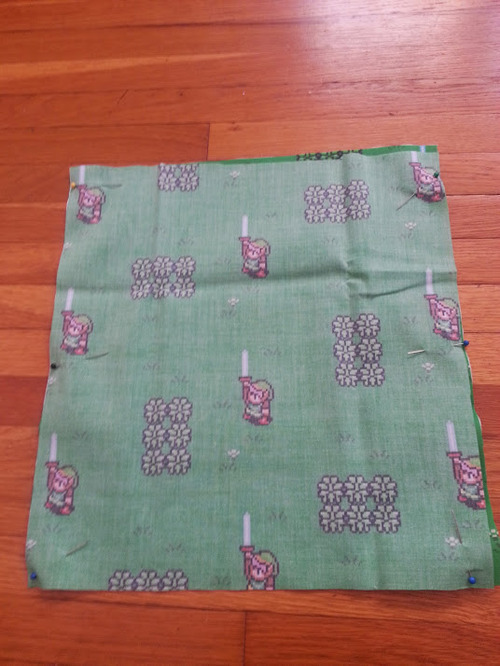
Step 4: Fold the pocket fabric in half lengthwise, putting right sides together. Make sure to keep the pattern upright if you have one. Fold along the 12" side so you end up with a 6" tall piece of fabric.

Step 5: Starting at the fold, sew around the three open sides of the fabric, pivoting a half inch from each corner. Be sure to leave a 2" opening before you reach the next fold, so you can invert the pocket to be right side out.
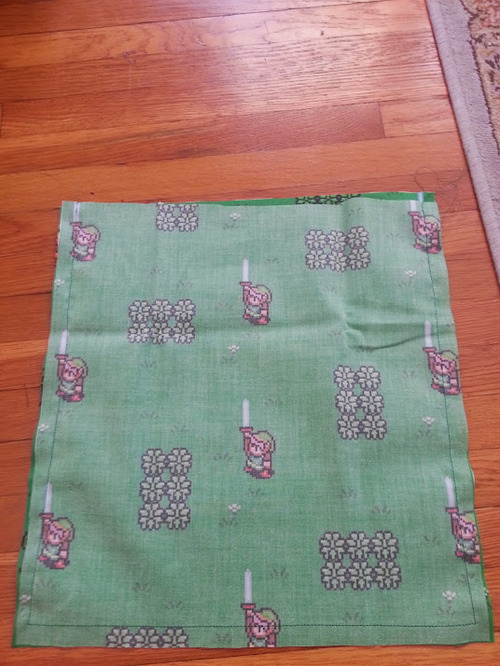
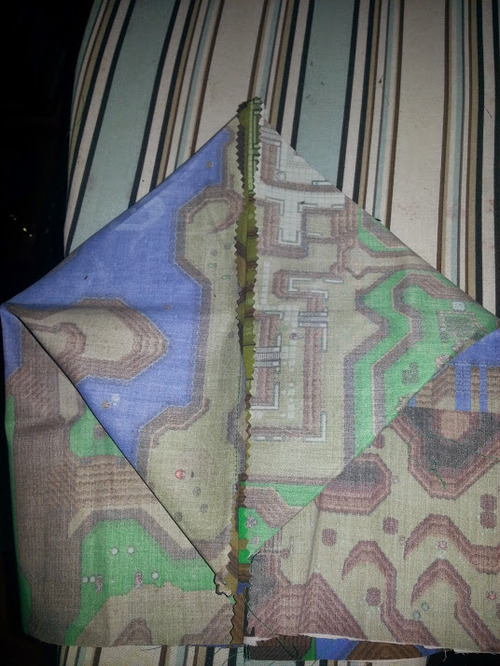
Step 6: Trim your seams to a 1/4" seam allowance, being sure not to cut the stitching. Using a tool or a wooden chopstick, pull the fabric through the opening you left until the pocket is right side out. Be sure to use your tool or your chopstick to push out the corners so that they are square. Press the pocket flat.
(Half turned pocket. Sorry the photo isn't the best.)
Step 7: Pin the pocket to one of the pieces of lining fabric, making sure to centre the pocket on the fabric so that the edges of the pocket fall just inside the seam allowance. Don't worry about sewing up the opening you left for turning the pocket, since it will be incorporated into the seam of the lining. I like to pin the pocket a comfortable distance up from the bottom. I eyeball it, depending on what size the bag I'm making is.
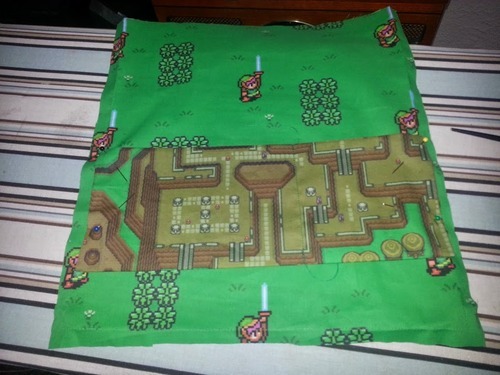
Step 8: Using a zigzag stitch and sewing along the edge of the pocket, sew around three sides, leaving an opening on the top (because it's a pocket!)
Step 9 (optional): You may want to sew a line or two down the middle of the pocket to bisect it and create several smaller pockets. Do this now, as it's basically impossible to do it later.
Step 10: Pin the lining pieces right sides together, making sure the pocket is in the right location and making sure the corners are square.
Step 11: Starting an inch and a half down from the top, sew around three sides of the bag and stop an inch and a half from the top, just as you did for the exterior of the bag, only this time, leave a 2" opening in the middle of the bottom side so you can assemble the bags easier later.
Step 12: Box the corners of both your bags (inner and outer). The process should be done as follows:
- For each of the four bottom corners on your two bags, fold the corner
with the side and bottom seam touching to create a point and iron it
flat.
- Measure 1.5” from the point and draw a straight line. Stitch across
this line and then cut the fabric ¼” away from the stitch line. Seal the
edge with a zig-zag stitch or trim with a pinking shears.

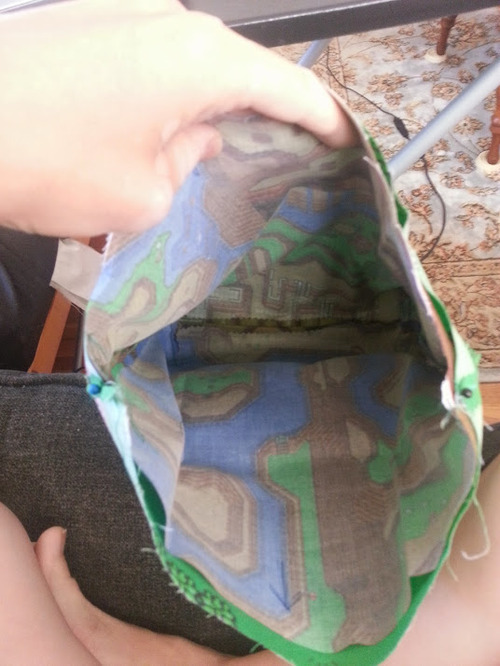
Step 13: Assemble the bag. Turn the lining bag inside out and make sure the exterior bag is right side out and then slip the exterior bag inside the lining bag. Pin the bags together around the opening. If you want to have a strap fold it in half and put it between the bags, looped end down inside the bag, with the two ends protruding slightly out of the top.
Step 14: Sew around the top edge of the bag using a 1/2” seam allowance. If you've included a strap, go over it a few times to reinforce.
Step 15: Pull the external bag through the hole you left in the bottom of the lining bag, lining up the bottom, flat corners of both bags. Sew up the seam in the bottom of the lining as best you can, then. Iron the bag flat.
Step 16: Sew a line of stitching all the way around the bag above the opening for the cord (about an inch down from the top), and then sew another line of stitching parallel to this just below the opening for the cord (about an inch and a half from the top) to create a channel for the cord to live in. Thread the cord into the channel by attaching it to a safety pin and running it in between the lining and the exterior fabric. Thread a toggle onto the cord and tie off the ends. I also like to put a snap in the centre to allow for threading yarn through the bag without needing the bag to be fully opened.
Congratulations! Your reversible draw-string project bag with pockets is complete!

No comments:
Post a Comment